
Quick-Start Guide to Setting Up a Python Development Environment on Ubuntu Desktop using Visual Studio Code
These steps will show you how to create a simple Python development environment using Visual Studio Code on Ubuntu Desktop.
This is a simple guide for creating a basic Python environment. It doesn’t cover advanced topics like configuring Python for web developing using frameworks such as Django.
Read Setting up an Ubuntu Desktop VM with Oracle VirtualBox if you need help setting up an Ubuntu VM on Oracle VirtualBox.
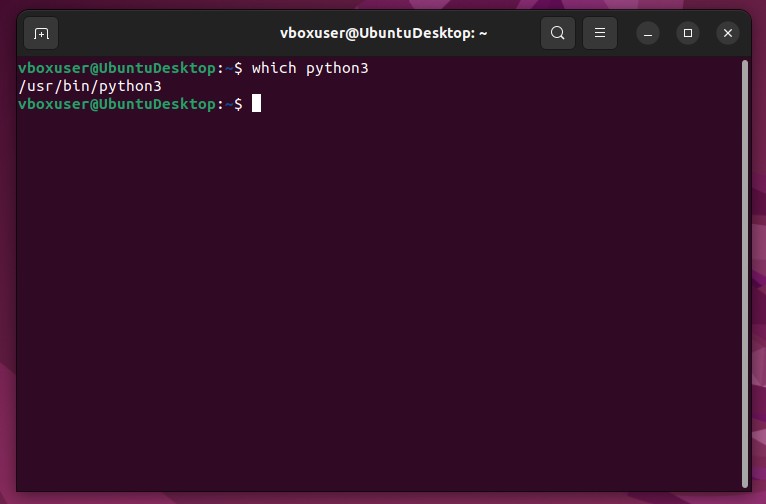
If you already have Ubuntu installed, then good news, most Ubuntu distributions come with Python pre-installed. If you’ve installed Ubuntu recently, you probably have Python3. To confirm Python3 is installed, open a terminal by pressing Ctrl + Alt + T. Then type “which python3” on the command line. if Python3 is installed, you should see the path to Python3 as the output of the command.
If the command output is empty, you might have an older version of Python. You can try “which python2” or “which python” to look for older versions. If the output is still blank, then you don’t have Python and will need to install it. The steps to install Python are outside the scope of this post.
After confirming Python is installed, install VS Code. Here are 2 ways to install VS Code. 1. Using snap on the command line. or 2. using Ubuntu Software application.
Press Ctrl+Alt+T to open a terminal window.
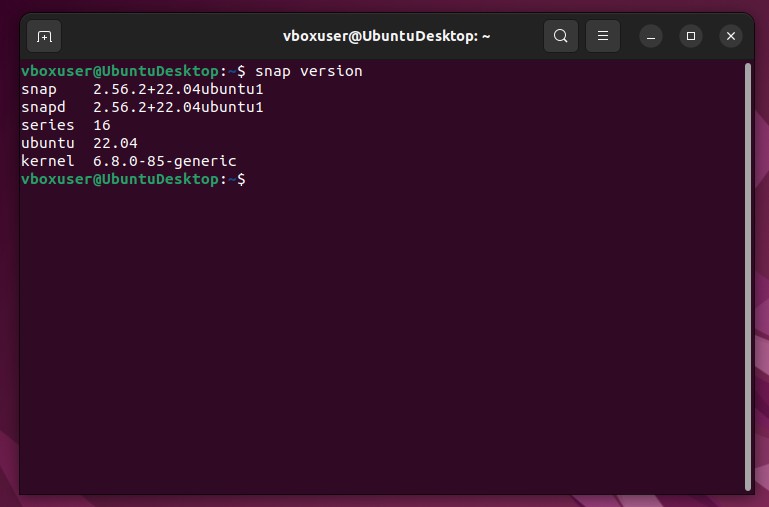
Type “snap version” to confirm snap is installed.
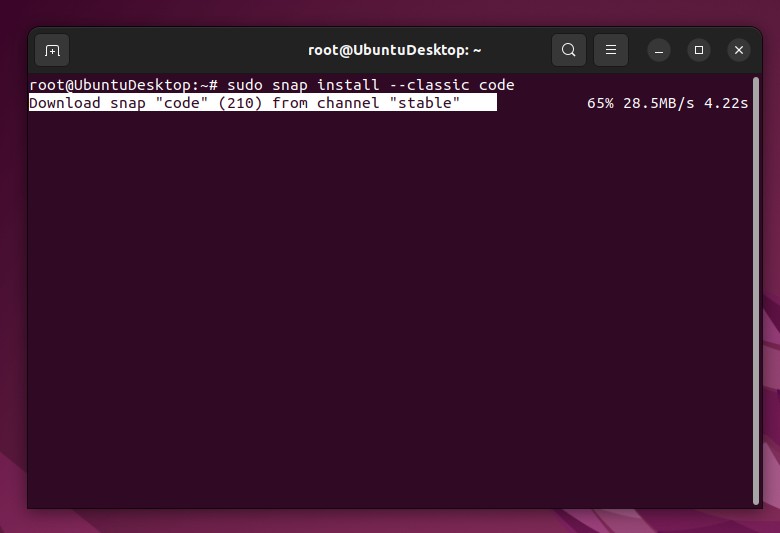
Type “sudo snap install –classic code” and press Enter to install VS code. Enter the password when prompted.
NOTE: If you get a message like “[username] is not in the sudoers file. This incident will be reported.” Then you will need to add your user to the sudoers file .
You should see a screen like the following:
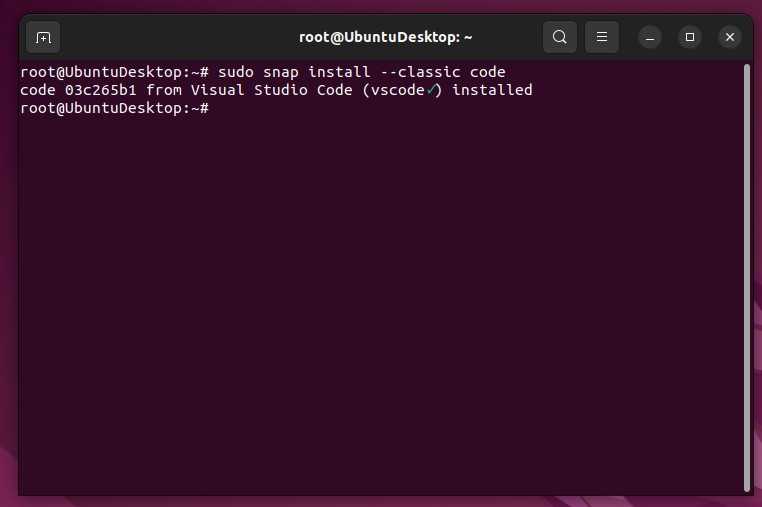
When the install is complete, you should see a message similar to the following:
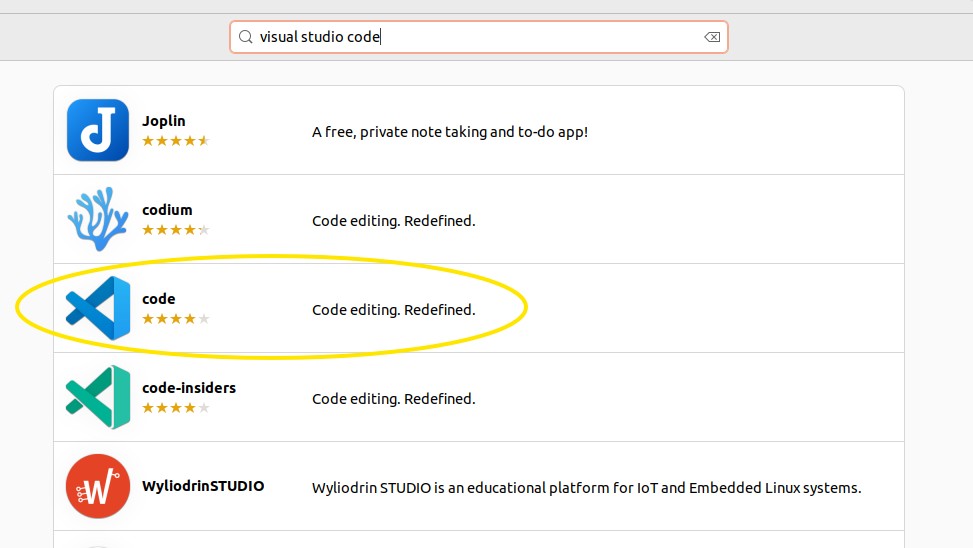
Open the Ubuntu Software application by clicking the icon on the menu.

Click the search button in the upper left-hand corner.
Enter “visual studio code” in the search field.
Find and click the “code” option.
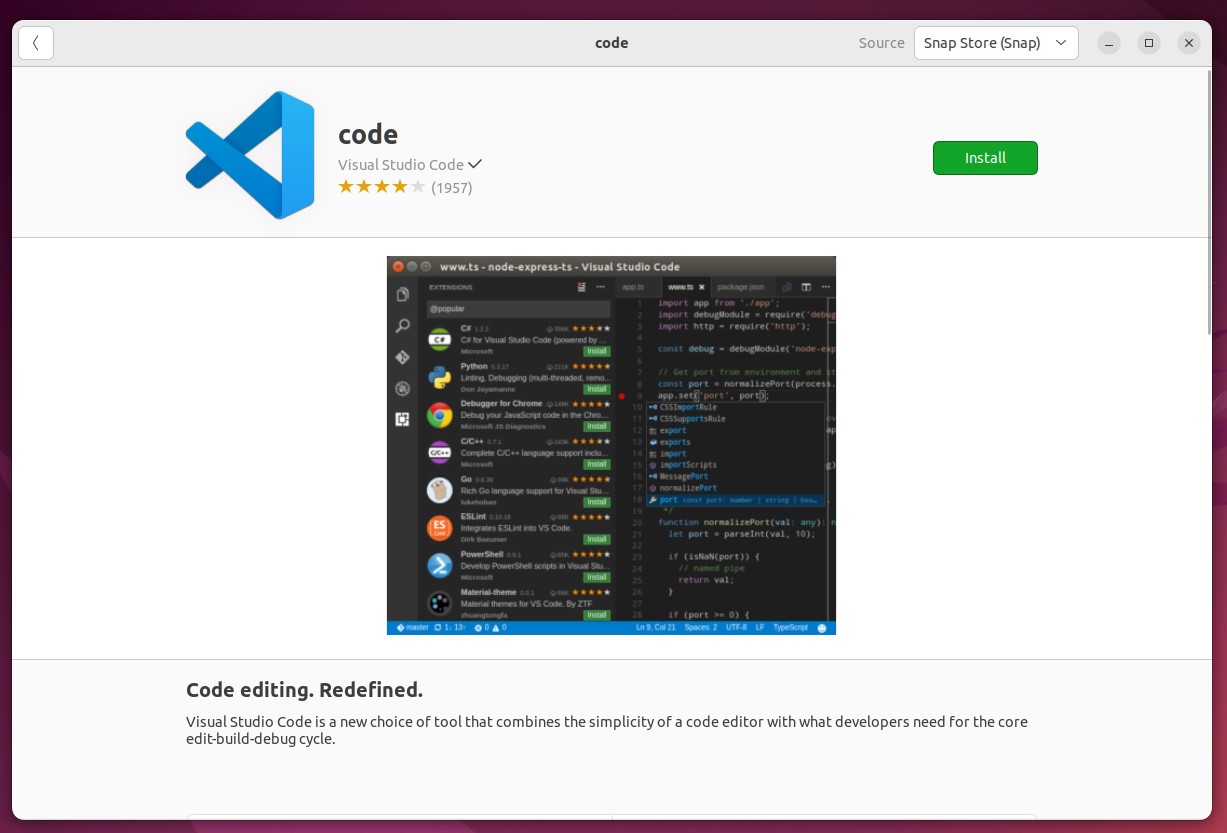
Click the Install button to install VS Code.
- Open a terminal and type “code” from the command line, or use the Ubuntu search feature to search for code, then click the icon to open it.
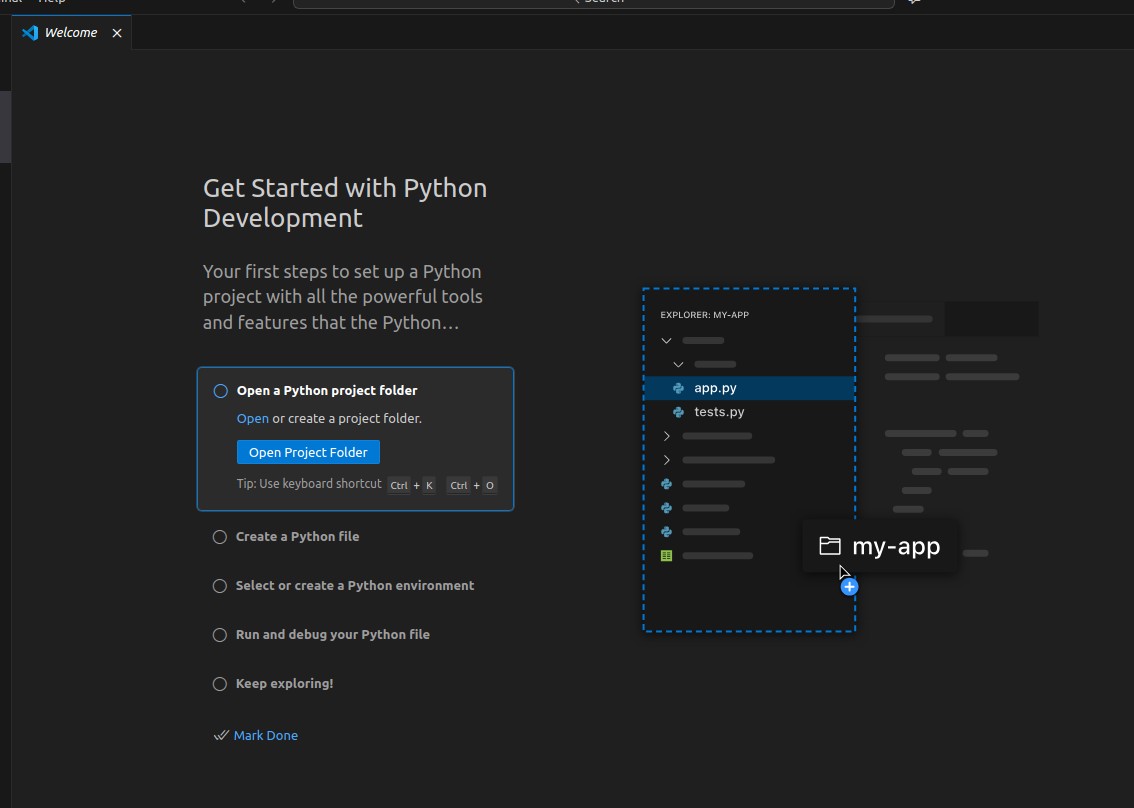
On a new installation, VS Code will prompt you for steps to configure your environment. One of these steps is “Code With Extensions”. If you select the default of popular extensions, the Python extension from Microsoft will likely be near the top. For these instructions, I’ll us this extension.
- Create a folder to store the python files.
I’ve created a directory called “python” in my home directory.
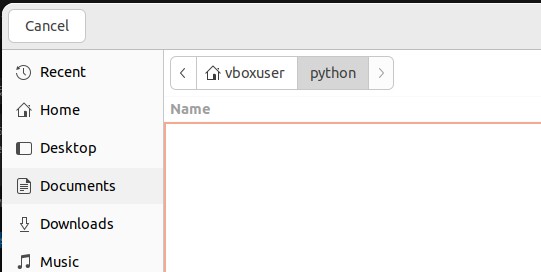
Open the python directory with Visual Studio Code.
Create a new python file.
Select File > New File and click Python File from the options presented.
Enter the following text into the file
print("Hello World!")
Press Ctrl + S to save the file in the python directory as helloworld.py.
- Run the python file
Open a terminal in VS Code by clicking Terminal > New Terminal
Click the “Run Python File” button in the upper right-hand corner of the editor.

Clicking the button will open a Python terminal and the output of your code will be shown in the terminal window.

You’re now ready to start experimenting with Python. Try parsing a CSV file with Python next.
This is just a rough quick-start guide to get you up and running quickly. For more detailed instructions, refer to the Getting Started with Python in VS Code from the official Visual Studio Code documentation.