
Step-by-step Tutorial to Parse a CSV File Using Python
For this post, I’m using the simple Python development environment that was created in the Quick-Start Python Set Up Guide .
If you’re running this tutorial inside a VirtualBox Ubuntu VM, make sure:
- Guest Additions are installed
- Devices > Drag and Drop > Host to Guest (or Bidirectional)
- Log in with Ubuntu on Xorg
Otherwise you may not be able to drag files or copy data to/from the VM.
I’ll open Visual Studio Code by pressing Ctrl+Alt+T to open a terminal, typing code and pressing enter.

Enter the code command in the terminal
VS Code opens, and the helloworld.py example from the quick-start guide referenced earlier is still open in the editor.
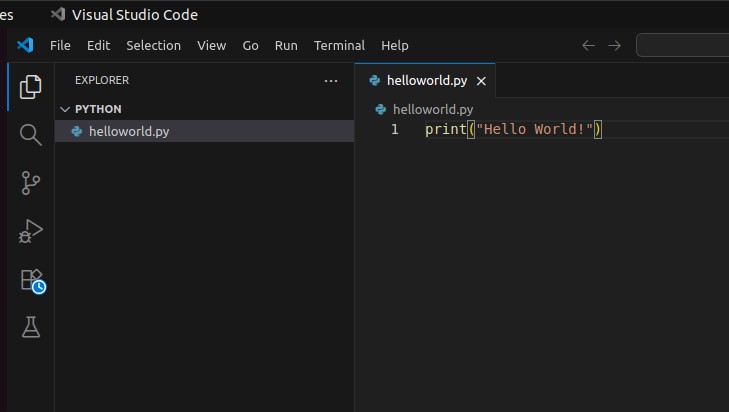
VS Code Opened
I’m going to create a new file for the CSV parsing example by clicking File > New File… and entering the file name “parsecsv.py” in the Ubuntu Create File dialog. Note that I’m saving it in the same python directory that was used for the previous helloworld.py example.
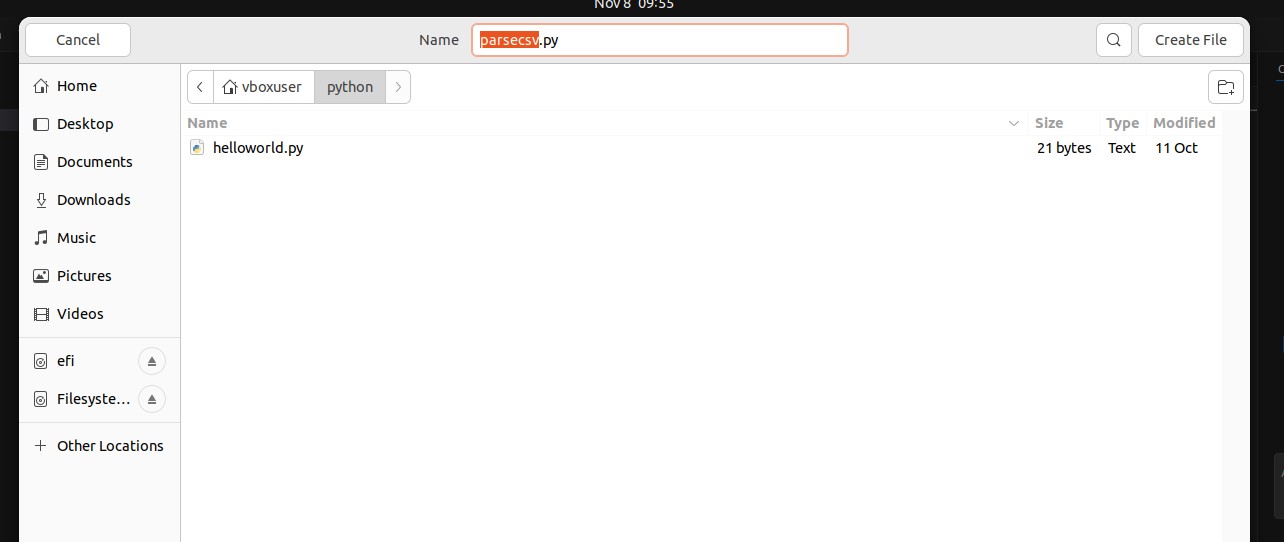
Create the new file named parsecsv.py
Click Create File to create the file. It should automatically open the VS Code Editor.
To complete the example, we need a CSV file. We can use the same CSV file that was used for my post on why you should learn regular expressions . The CSV contents are shown below.
Name,AccountNumber,PremiumSubscription,Active
Customer One,1234-123-1234-12-A,True,True
Customer Two,2234-223-1234-12-B,True,True
Customer Three,3234-323-1234-12-A,True,True
Customer Four,4234-423-1234-12-A,True,True
Customer Five,5234-423-1234-12-B,True,True
If you’re following along with this example, save the CSV file in a data directory in the root of our python directory. You can use Visual Studio Code or the command line to create the new directory.
You should now see the data directory containing the CSV file in the VS Code Explorer window:
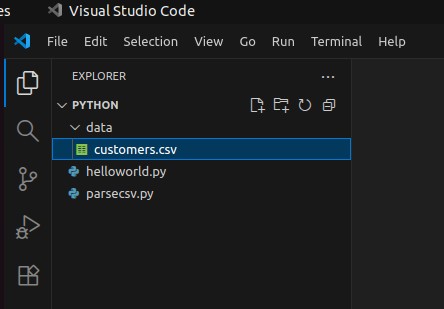
File customers.csv in VS Code Explorer Window
Now that we have our file to work with, we can start writing our Python code to parse it.
NOTE: I could just ask AI in VS Code to write this code for me. However, this tutorial is as much for me as it is for anyone who reads this. I’m not going to learn anything if I just ask AI to do this for me. So, I’m not going to do that. Instead, I’m going to reference CSV File Reading and Writing. from python.org.
The first thing I will do is add import csv to the top of my parsecsv.py file.
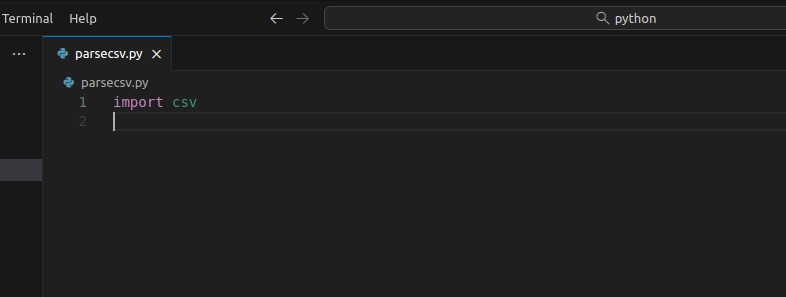
Add import csv to the Top of the parsecsv.py file
Adding this line uses the Python import command to import Python’s csv module.
Since using the csv module is new for me, I’ll start by verifying there are no issues with the import statement. I’ll click the Run Python File icon to run the file. If you remember from the quick-start guide referenced at the beginning, this button is in the top right corner of the editor, and was added when we installed the Python extensions in VS Code.

Run Python File button in VS Code
The file runs and shows no output.

No errors on output
If you’re new to software development, this may seem overly cautious or unnecessary. However, it’s best to identify any errors that may occur as early as possible. Experienced software engineers are deliberate and methodical. The output here tells me the import is working, and that I can continue. If I had received an error here, I would want to investigate why the module wasn’t importing properly. This is much easier to do early than it is to write more lines of code and try to sift through the errors later. In a small example like this one, it’s not a big deal, but if I were to proceed and write hundreds more lines of code, it would be much harder to identify this issue than would be to find it early in the process.
The next step will be to enter the example for reaching a CSV from python.org. I’ve copied the example “as-is” into the Visual Studio Code Editor. We’ll need to update this for our example.
import csv

with open('eggs.csv', newline='') as csvfile:
    spamreader = csv.reader(csvfile, delimiter=' ', quotechar='|')
    for row in spamreader:
        print(', '.join(row))
We’ll look at this line by line:
with open('eggs.csv', newline='') as csvfile:
The with statement, a type of “Compound statement
” in Python, simplifies control flow structure and resource management. As a .NET developer, this seems conceptually similar to .NET’s using statement. By opening the CSV file using the with statement, we tell Python we want this file to automatically close when we’re done with it. This helps with resource management.
The open function, a built-in Python function
, is used to open a file. The first parameter is the file name and the second parameter specifies the line ending delimiter. Note that the first parameter is not a named parameter. This parameter must be the file name. The second parameter is a named parameter. By using newline='', the code is telling Python that the value after the = is the value for the newline parameter.
For our example, we’re going to update this to read our example CSV file from the data directory. Before making any changes, let’s click the Run Python File button again and see what happens.
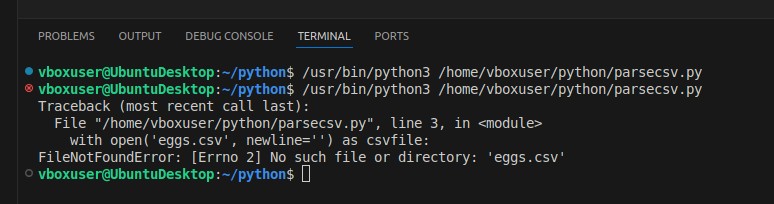
Python FileNotFoundError in Terminal
This confirms that with open is actually trying to open the file. We’re getting the FileNotFoundError because we haven’t yet updated the code with the correct location of our file. Let’s do that now. Change the line to the following:
with open('./data/customers.csv', newline='') as csvfile:
The entire example should now look like this:
import csv

with open('./data/customers.csv', newline='') as csvfile:
    spamreader = csv.reader(csvfile, delimiter=' ', quotechar='|')
    for row in spamreader:
        print(', '.join(row))
Let’s click Run Python File again and see what happens:
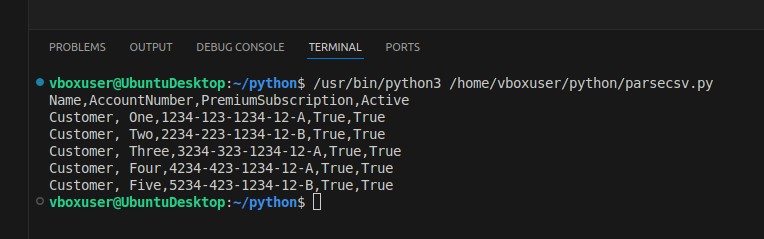
Terminal Output After Updating File Path
We’re seeing progress now, but there is still an issue. Our output looks like this:
Name,AccountNumber,PremiumSubscription,Active
Customer, One,1234-123-1234-12-A,True,True
Customer, Two,2234-223-1234-12-B,True,True
Customer, Three,3234-323-1234-12-A,True,True
Customer, Four,4234-423-1234-12-A,True,True
Customer, Five,5234-423-1234-12-B,True,True
First, note that the lines were correctly parsed. This is because the newline parameter was set to ''. This value enables “universal newlines mode” and newline characters are automatically translated.
There is an issue with the Name data though. In our original CSV example, the Name data has the entire name in one column. Usually, we’d really want to try and separate the first and last name, but our example CSV doesn’t do that. This output split that into two columns. This works in our example, but might be problematic in more complex examples. It’s better to parse the CSV correctly first, and then update any column formatting later.
Let’s look at the next line to see why this is happening:
spamreader = csv.reader(csvfile, delimiter=' ', quotechar='|')
This line uses Pythons csv.reader function to read the CSV file and return an iterable reader object with the name spamreader.
This line is passing the delimiter parameter as ' '. This is telling Python we want to use the space character as the delimiter. This is incorrect in our case because our sample CSV data uses a comma (,) as the delimiter. The quotechar is set to a pipe (|) character. In our case, this doesn’t matter, as we don’t have any columns enclosed in quotation characters in our CSV file.
Let’s update this line for our example. Change it to the following:
customersReader = csv.reader(csvfile, delimiter=',', quotechar='"')
We also need to change the next line to the following:
for row in customersReader:
The above line creates a for loop in Python. Looping through all of the items in the iterable customersReader object.
Our complete example now looks like this:
import csv

with open('./data/customers.csv', newline='') as csvfile:
    customersReader = csv.reader(csvfile, delimiter=',')
    for row in customersReader:
        print(', '.join(row))
We’ve renamed the reader variable from “spamreader” to “customersReader”. This wasn’t strictly necessary, but it’s a better name for the variable in our case. We’ve also updated the delimiter to a comma (,), which correctly matches our example CSV data. Finally, we’ve updated the quote char to a double-quote ("). This isn’t relevant for our example, but we’ll leave it at that value.
The last line to examine in the example is:
print(', '.join(row))
This line prints the data using the print command. The parameter passed to print starts with the string object ', '. Everything in Python is an object, including string literals. Then the .join() method is called on the string object to join all the elements in the row object using a comma “,”.
Let’s try running our updated example. Type clear in the terminal and click the Run Python File button again. the following output is displayed:

Terminal Output After Correcting delimiter parameter
That looks much better. Our code is correctly parsing now, with the customer name in one variable.
So, now we know the code is working, but it’s not very interesting. Our output is identical to the CSV file format. Let’s make at least one change to show something a little more meaningful. To keep things simple, let’s just extract the customer name. We’ll keep the original code and add a new section of code to do this. Copy the entire block of code starting with with and paste it after the first block. The entire updated example will look like this:
import csv

with open('./data/customers.csv', newline='') as csvfile:
    customersReader = csv.reader(csvfile, delimiter=',')
    for row in customersReader:
        print(', '.join(row))

with open('./data/customers.csv', newline='') as csvfile:
    customersReader = csv.reader(csvfile, delimiter=',')
    for row in customersReader:
        print(', '.join(row))
Then, in the second with block, change the last line to add [0] after row:
The line will look like this:
print(row[0])
And the entire updated example will look like this:
import csv

with open('./data/customers.csv', newline='') as csvfile:
    customersReader = csv.reader(csvfile, delimiter=',')
    for row in customersReader:
        print(', '.join(row))

with open('./data/customers.csv', newline='') as csvfile:
    customersReader = csv.reader(csvfile, delimiter=',')
    for row in customersReader:
        print(row[0])
Save the file and click the Run Python File button again.
The output now looks like this:
Name, AccountNumber, PremiumSubscription, Active
Customer One, 1234-123-1234-12-A, True, True
Customer Two, 2234-223-1234-12-B, True, True
Customer Three, 3234-323-1234-12-A, True, True
Customer Four, 4234-423-1234-12-A, True, True
Customer Five, 5234-423-1234-12-B, True, True
Name
Customer One
Customer Two
Customer Three
Customer Four
Customer Five
Here’s a screenshot showing the output in VS Code:
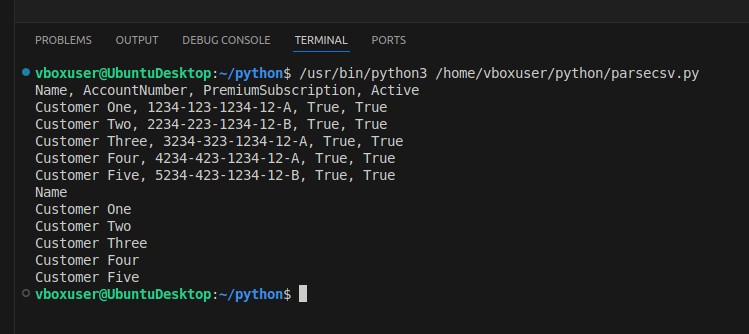
Terminal Output Showing the New Example Printing Only the Name data
In this tutorial, we looked at how to parse a CSV file using the Python csv module and explored some of the basic building blocks of the Python language.